| Recent Comments |
| Categories |
| Archives |
| Tags |
VSX Mastering Guide
I use the VSX headphone mixing system from Steven Slate Audio for mixing and mastering. It comprises a plugin in combination with the VSX Immersion One Planar Magnetic Open-Back Headphone. See also my earlier posts: VSX6/7, VSX 5, and VSX 4.
How to Master with VSX: A Workflow That Ensures Your Music Translates Everywhere
One of the biggest challenges in mastering isn’t making your track sound impressive on your studio monitors. It’s making sure it sounds equally good in the car, on earbuds, Bluetooth speakers, a smartphone, and professional studio systems. The VSX Virtual Mixing Environment offers dozens of virtual listening environments that simulate world-class studios and consumer playback systems. However, simply switching randomly between rooms is not the most effective way to work. The real strength of VSX lies in following a structured monitoring workflow. This post provides a practical mastering workflow based on the official VSX Mastering Guide and discuss why this approach works so well in practice.
Step 1 – Start with full-range studio monitors
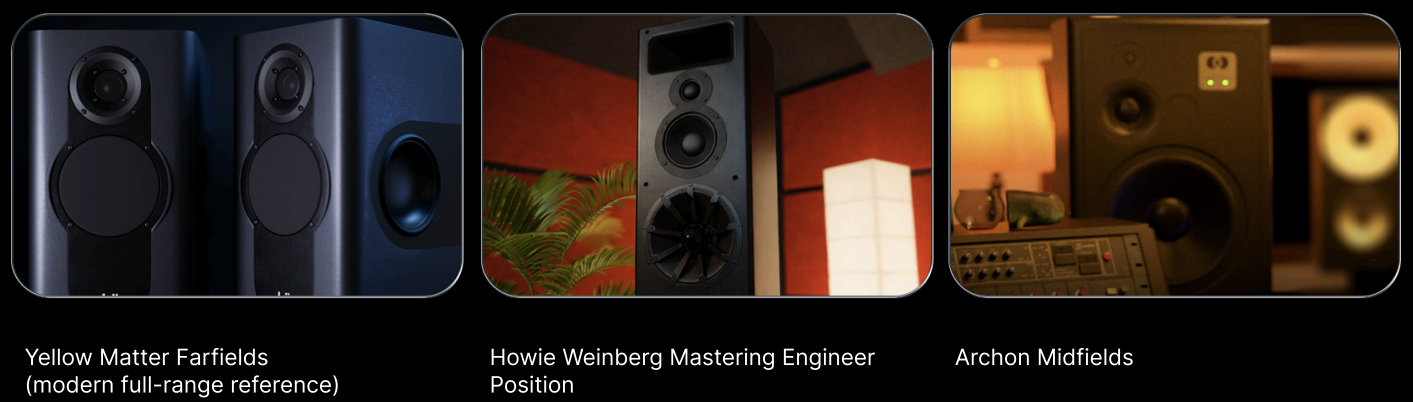
Always begin mastering in your most accurate, full-range monitoring environment. These virtual rooms provide the highest resolution and reveal problems that may remain hidden on smaller speakers. Recommended VSX rooms include:
- Yellow Matter Farfields
- Howie Weinberg Mastering Engineer Position (my preferred room)
- Archon Midfields
This is where you make the important mastering decisions regarding:
- Tonal balance
- Bass extension and control
- Low-mid clarity
- Smooth high frequencies
- Stereo image
- Dynamics and punch
At this stage it is also advisable to compare your master with professionally mastered reference tracks. Rather than trying to make your music sound “bigger,” the goal is to achieve a natural tonal balance that sits comfortably alongside commercial releases.
Step 2 – Move to consumer and real-world playback systems
Only after your master performs well in professional studios should you move to consumer playback systems. This is where translation is tested—not where you start sculpting the entire sound. Use the following VSX virtual rooms:
- SUV2
- Boombox
- Cellphone
- SA-PODS
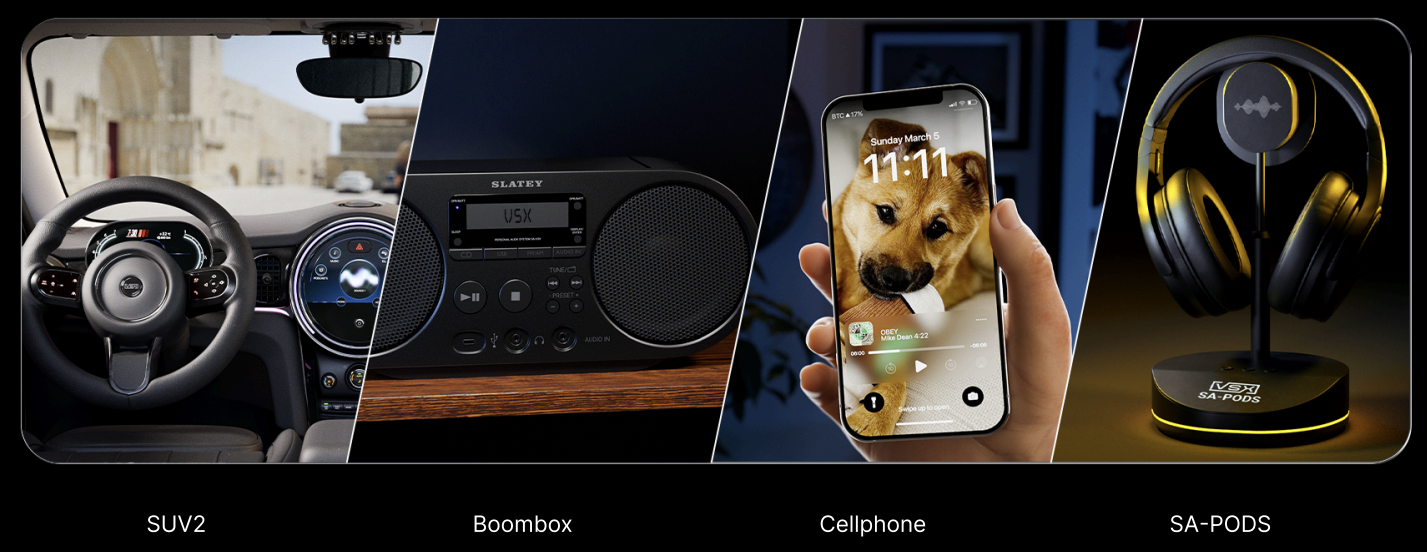
Check for:
- Low end holding together (not vanishing, not distorting)
- Bass staying audible without overwhelming the mix
- Vocal intelligibility on small speakers
- No brittle top end or fatigue on SA-PODS
- Energy and impact staying present at lower levels
If the master falls apart here, the problem is usually balance (and sometimes dynamics), not just loudness.
This is where you listen closely to the fundamentals of your mix, including:
- Overall tonal balance
- Low-frequency extension and control
- Low-mid clarity (no haze, no congestion)
- Upper-mid / treble smoothness (no glare or bite)
- Stereo width, depth, and center stability
- Overall dynamics and impact
At this stage, it’s important to pull up some reference mixes you trust. Switch back and forth between your reference and your mix and determine how your track scores on the above fundamentals. Remember, you’re not chasing hype, you’re confirming your master sits naturally next to proven references you trust. If your mix doesn’t feel balanced, stable, and full, don’t move on yet. Keep working on it until you can confidentially check off each of the above points.
Step 3 – Cross-check with other professional Studios
Once your master sounds balanced in your primary room, resist the temptation to continue tweaking endlessly. Instead, switch briefly to several other professional studio environments, such as:
- Warren Huart’s Spitfire Studios
- Steven’s Mix Room
- Mike Dean’s Studio
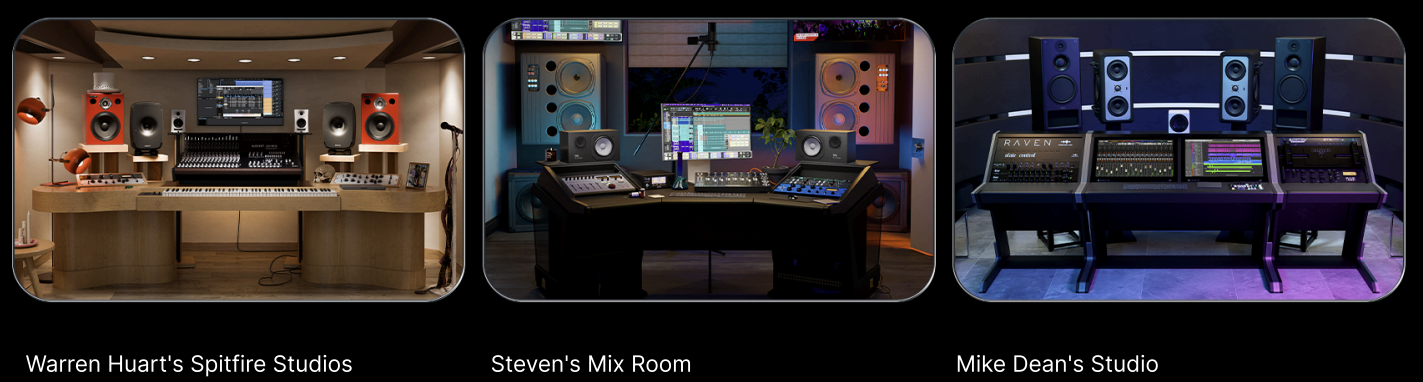
The purpose is not to remaster your song in every room. Instead, you are verifying that your earlier decisions remain valid. Listen for:
- Low end staying consistent from system to system
- The vocal/lead staying anchored and present
- Any band of frequencies suddenly jumping out or disappearing
- Stereo image staying solid without tilting or sounding hollow
Minor differences between rooms are perfectly normal. However, if certain frequencies suddenly become overwhelming or disappear completely, this usually indicates that your master still requires adjustments.
Step 4 – The final rule: No major flaws anywhere
A master doesn’t need to sound identical on every system. It needs to avoid major problems on any of them. Your master is ready when:
- It feels balanced and confident on full-range studio monitors
- It translates naturally across multiple pro references
- It holds together on consumer devices without obvious weaknesses
When that’s true, your mix will sound great everywhere car, phone, earbuds, club, and other speaker systems
References